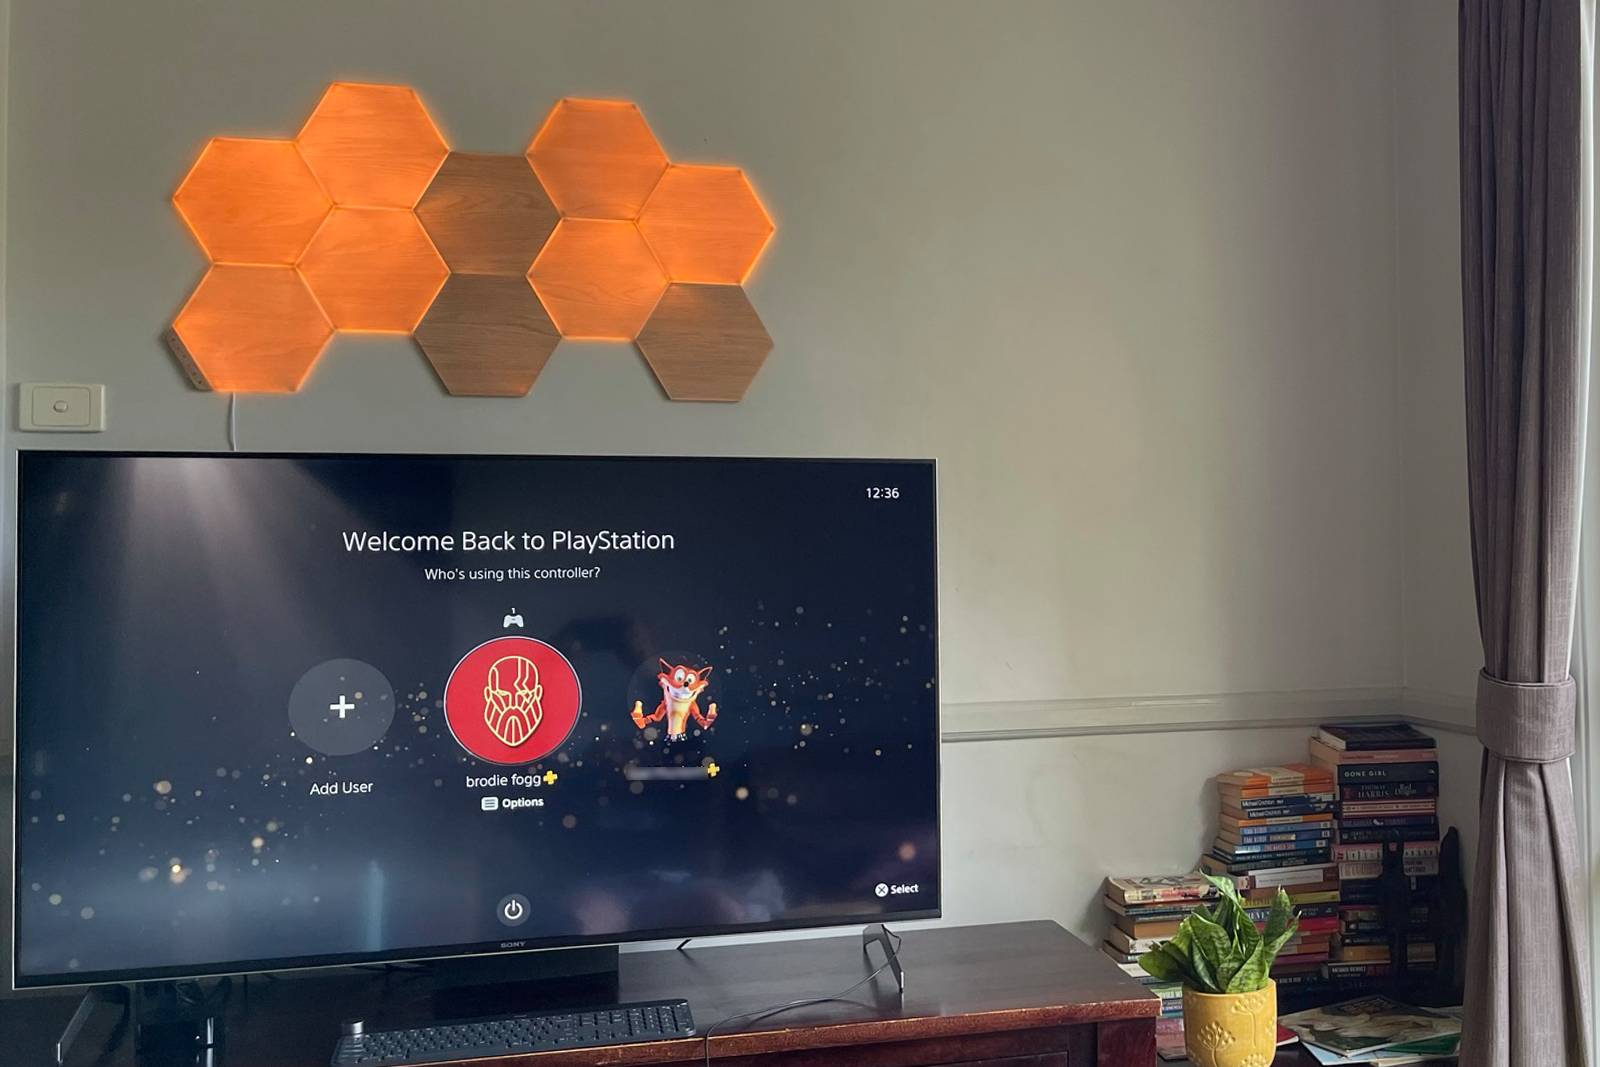
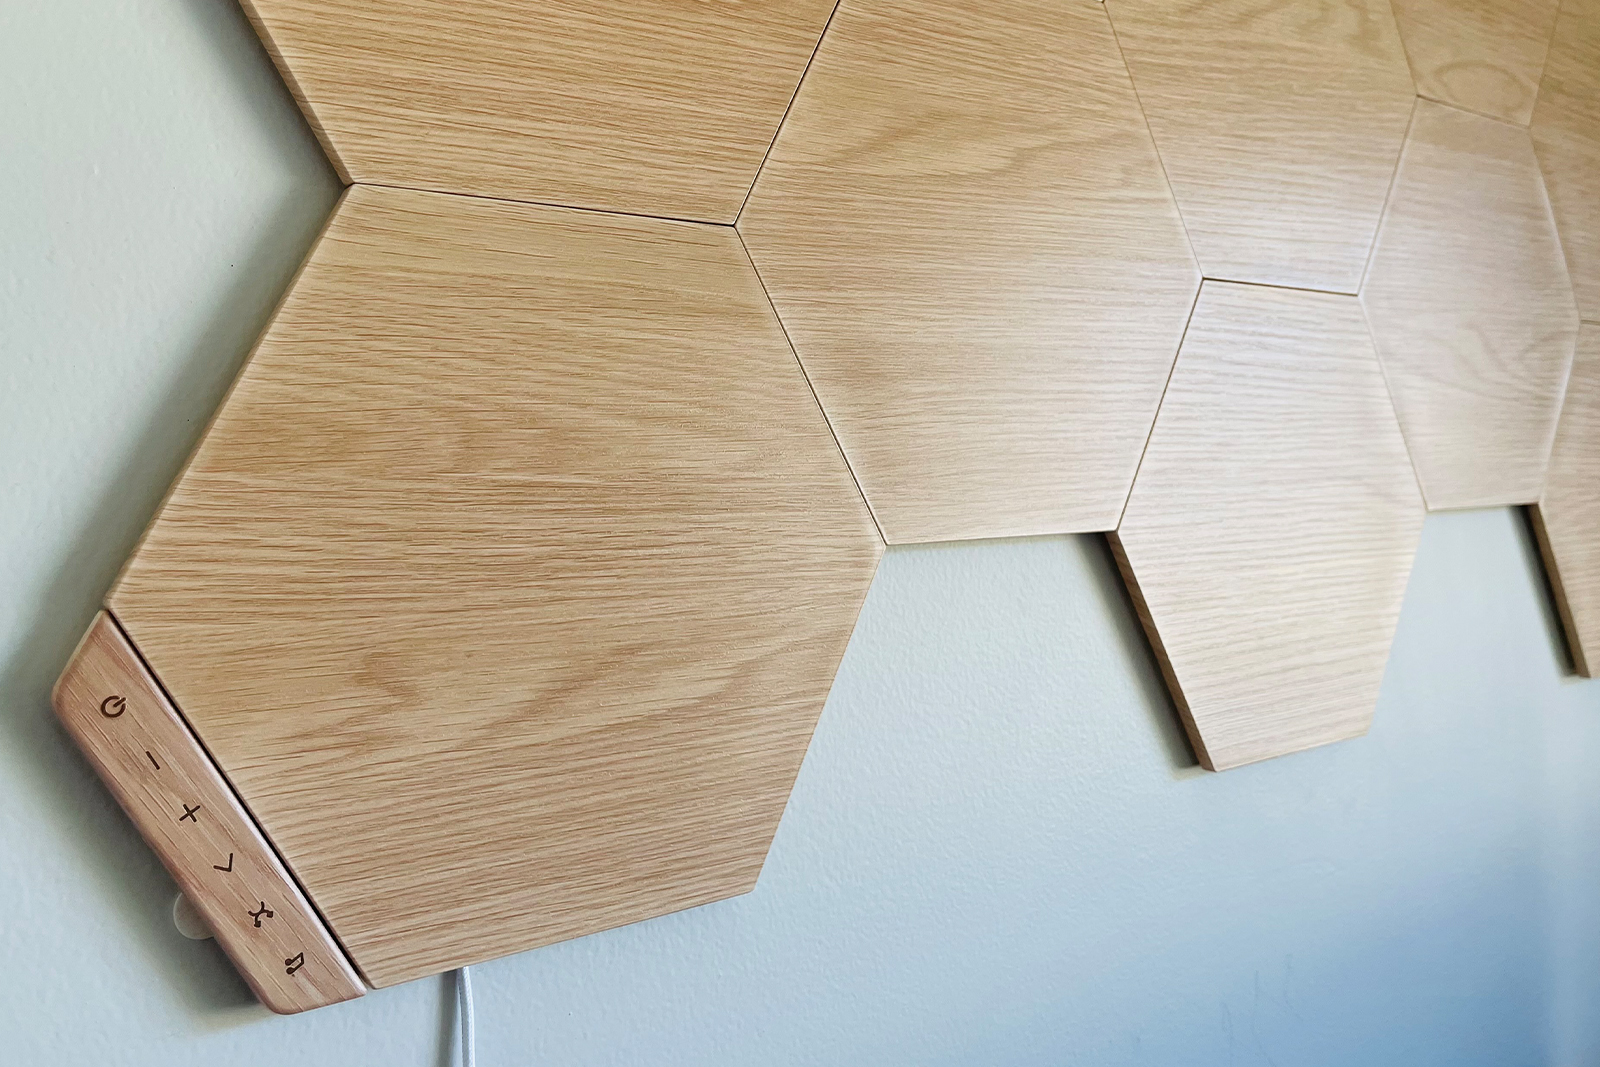
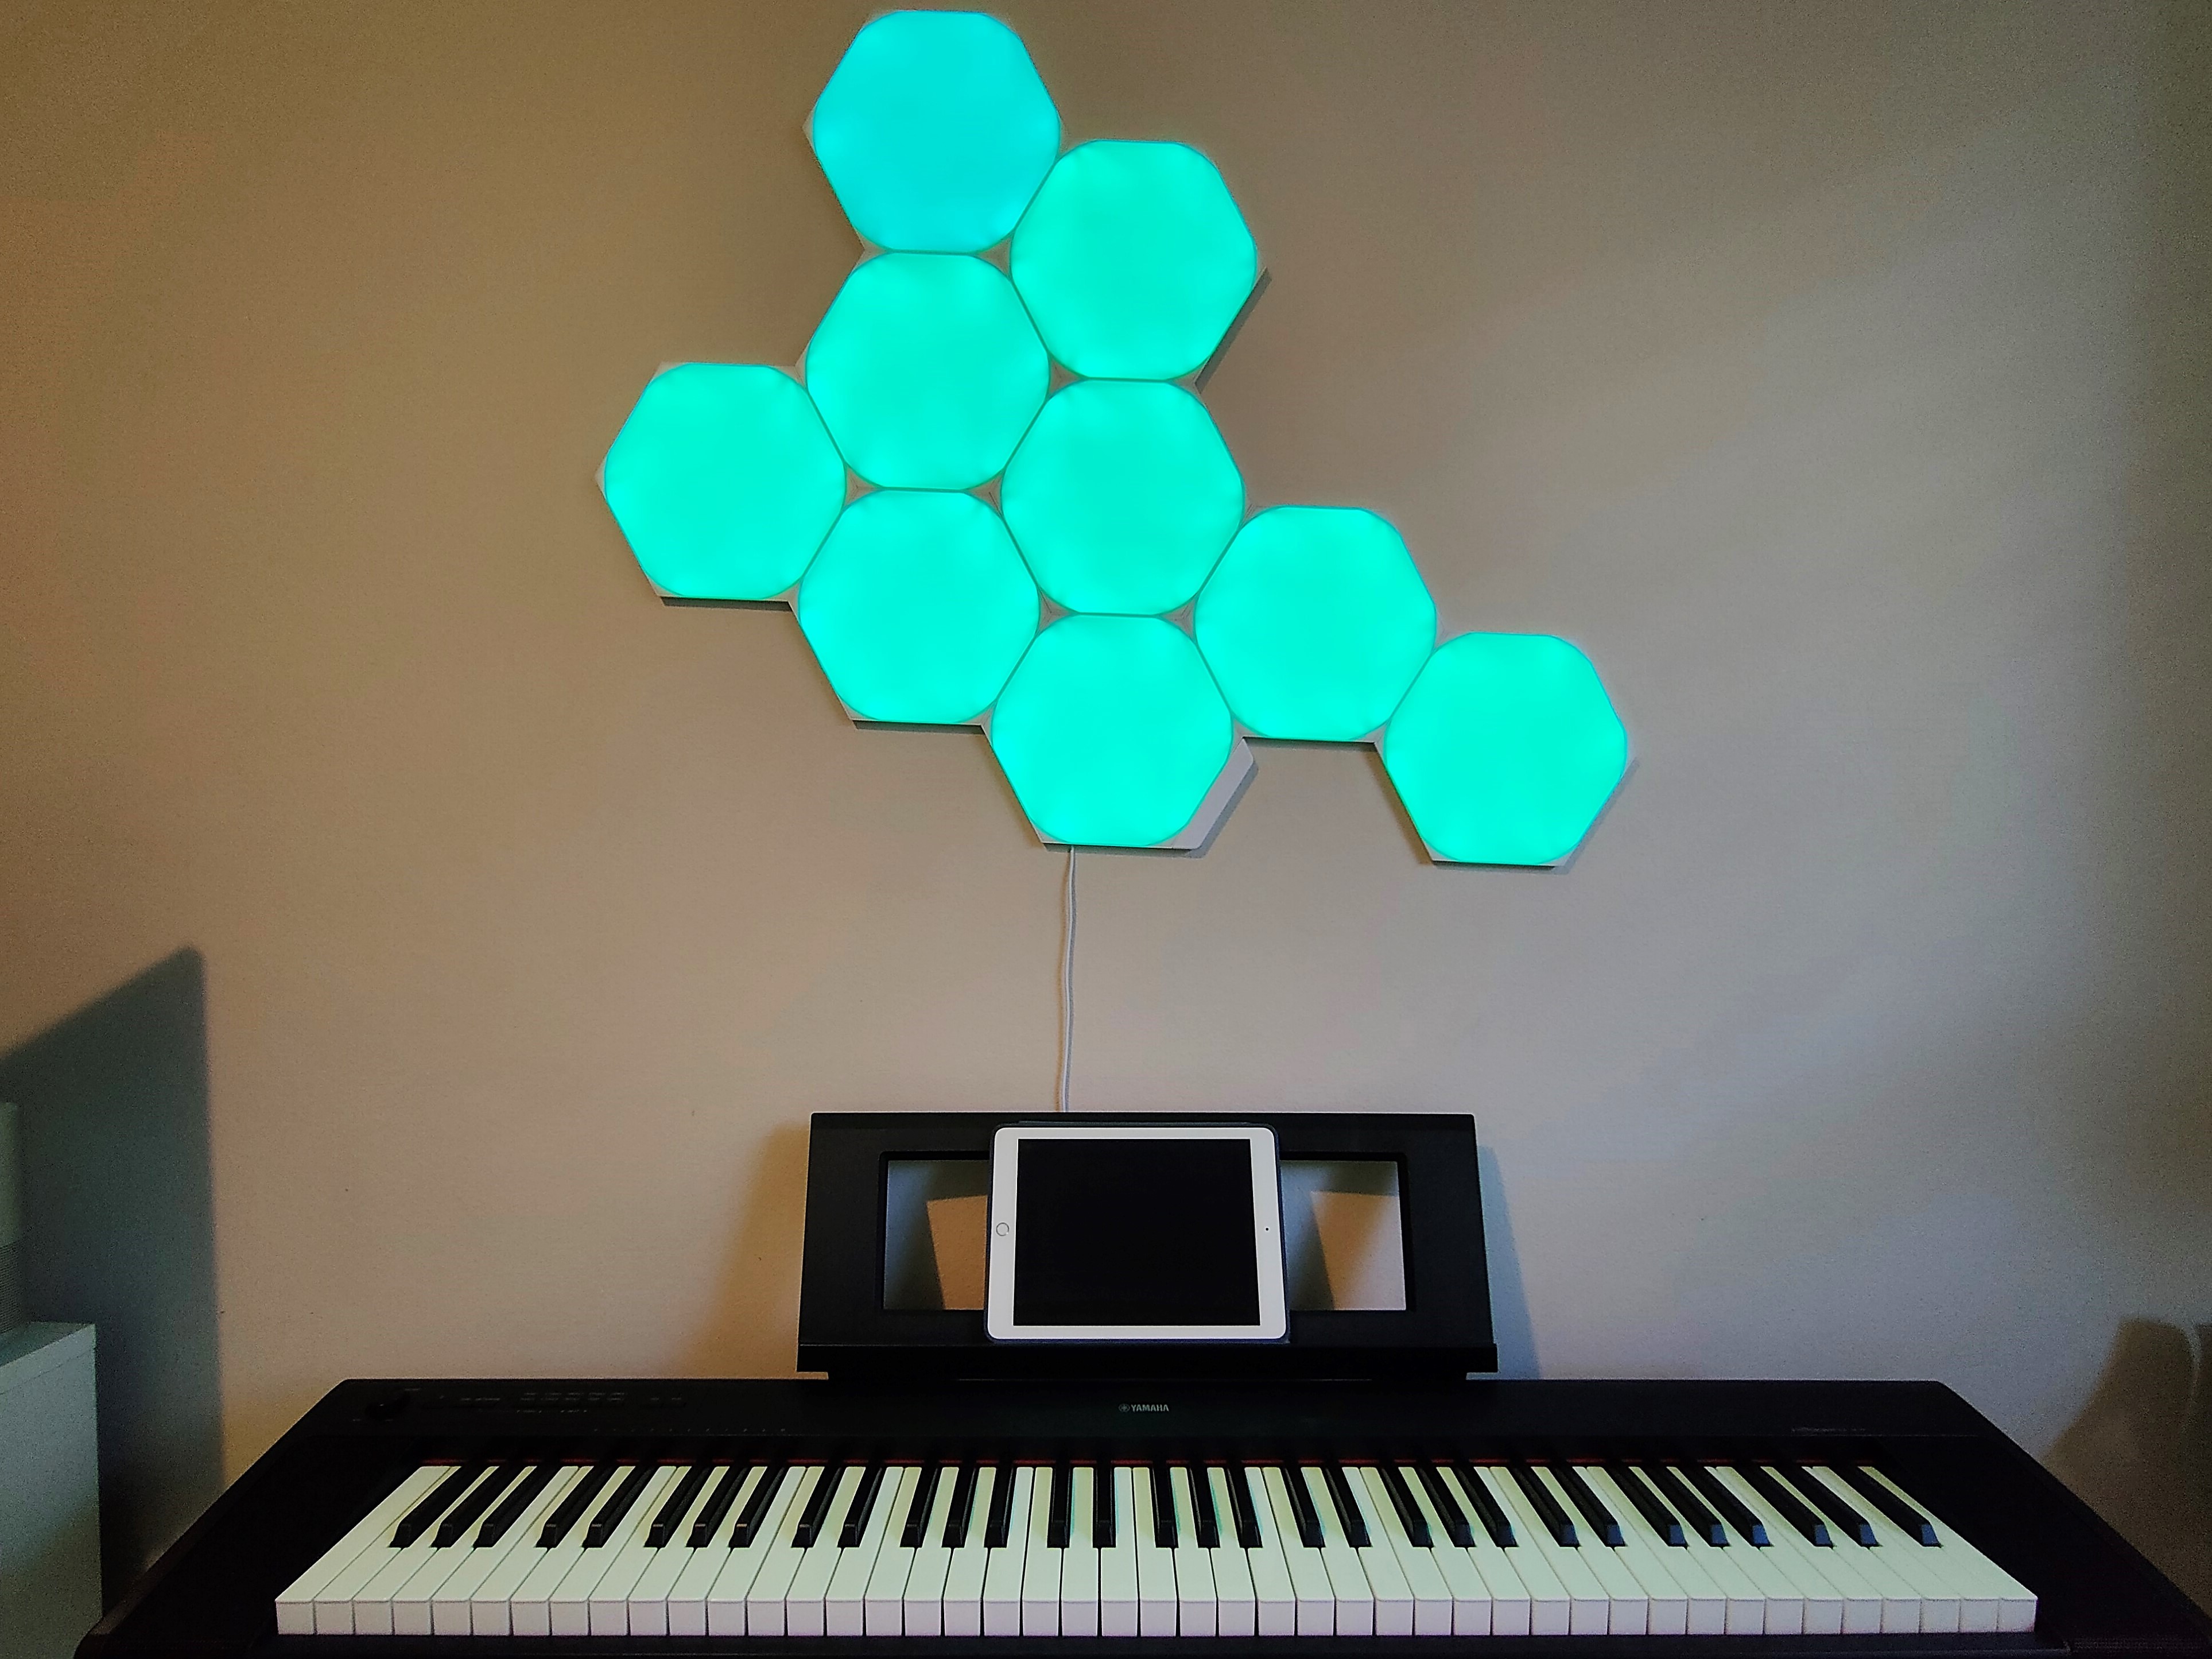
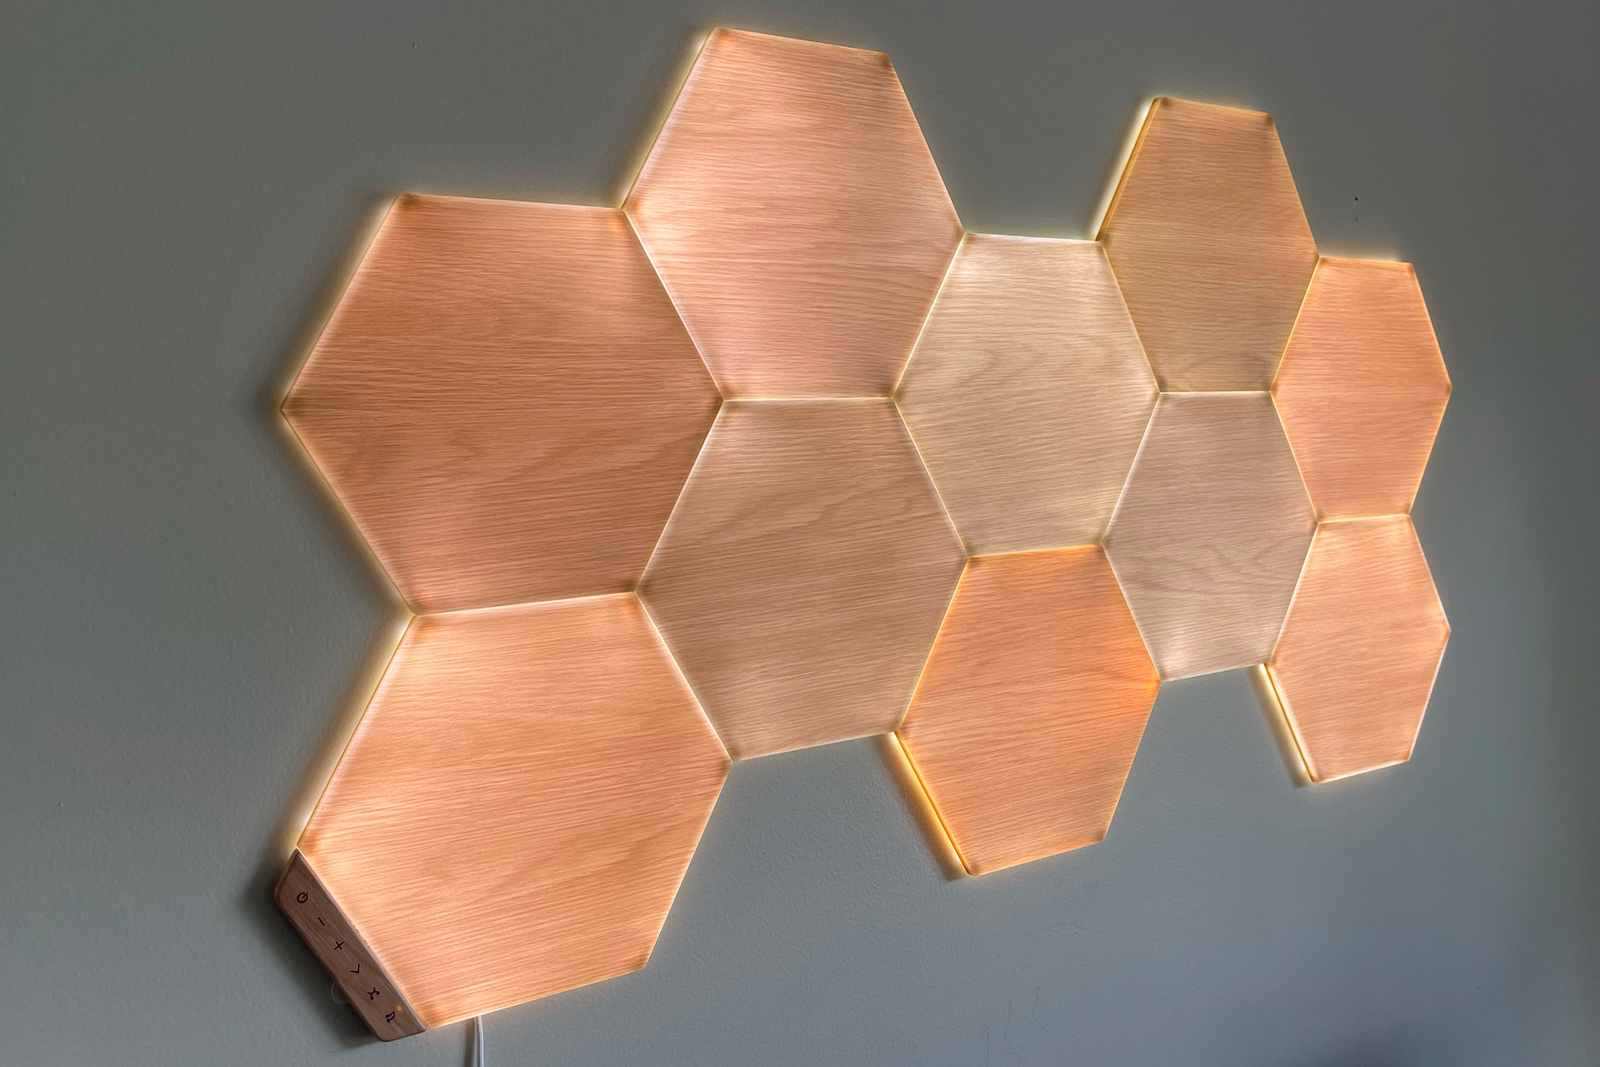
Optus Mobile Review ALDI Mobile Review Amaysim Mobile Review Belong Mobile Review Circles.Life Review Vodafone Mobile Review Woolworths Mobile Review Felix Mobile Review Best iPhone Plans Best Family Mobile Plans Best Budget Smartphones Best Prepaid Plans Best SIM-Only Plans Best Plans For Kids And Teens Best Cheap Mobile Plans Telstra vs Optus Mobile Optus NBN Review Belong NBN Review Vodafone NBN Review Superloop NBN Review Aussie BB NBN Review iiNet NBN Review MyRepublic NBN Review TPG NBN Review Best NBN Satellite Plans Best NBN Alternatives Best NBN Providers Best Home Wireless Plans What is a Good NBN Speed? Test NBN Speed How to speed up your internet Optus vs Telstra Broadband ExpressVPN Review CyberGhost VPN Review NordVPN Review PureVPN Review Norton Secure VPN Review IPVanish VPN Review Windscribe VPN Review Hotspot Shield VPN Review Best cheap VPN services Best VPN for streaming Best VPNs for gaming What is a VPN? VPNs for ad-blocking No problem, I thought. I’ll just buy a few more panels to make up for my poor planning. Then I checked the price on the 3-pack extension (roughly $149) and decided I could deal with the askew living room view for a little while longer. That’s the only real downside to the Nanoleaf Elements, it’s far too expensive for what is. At the end of the day, a hunk of plastic with a few LED lights. They’re clever, touch-sensitive hunks of plastic but plastic all the same. When you first unbox the Nanoleaf Elements panels, you’ll be given a few QR codes to use: one will direct you to the basic setup, the others will link your Nanoleaf product with your smart home/assistant of choice (e.g. Apple HomeKit, Google Home). That second one was a nice touch. As much as I try to embody the archetypal smart home enthusiast, sometimes I just can’t be bothered connecting all these apps and services. After downloading the app and muddling through its menus, it’s time to set the Nanoleaf panels up. The point of no return. I stressed over the placement of the panels so much that I put it off for a few nights. As helpful as the app’s guidance is, it doesn’t offer any reassurance or tips for what to do if you mess things up. Eventually, I decided on a layout and got to work with… just okay results. In hindsight, it might seem obvious that you only need one connector per panel, daisy-chaining the power supply through each hexagon. It wasn’t for me. I went all out, adding connectors to every side where an adjacent panel was planned to be. A simple reminder or a few spare connectors would have been greatly appreciated. Thankfully, removing connectors isn’t too difficult once the glue has set and the panel is stuck firmly to the wall, but while it’s still fresh, the last thing you want to do is pry the panel away from the wall to retrieve a connector and risk tearing it off. There are some nice touches. The AR (Augmented Reality) Layout Assistant uses your phone’s camera to help you plan the ideal layout for your Nanoleaf panels. There’s also a healthy selection of scenes to set the mood (Embers, Fireflies and Clouds are a few examples). All of these features are nice to have but the one thing that dampens the mood is how buggy the app is and how generally confusing its UI can be. The AR feature is great when it works. More often than not, I’d flick over to the Layout Assistant and the app would become completely unresponsive. If you’re looking for inspiration, I recommend heading over to Nanoleaf’s Instagram page or Pinterest, rather than relying on the Layout Assistant. In addition to the bugs, the app’s UI is a bit of a mess. Sections are confusingly named and labelled, settings aren’t always where you expect them to be and the scheduling is cumbersome. The glue might as well have been engineered by Peter Parker himself because they’ve got no problem sticking to the wall but getting them off is a different story. If you’re renting and you’re worried about damaging the walls, I’d recommend buying some 3M velcro strips to use as a buffer between the Nanoleaf panels and your wall. That’ll make them a lot easier to move between rooms too. The beauty of the Nanoleaf Elements Wood-Look range is they look lovely switched on or off. Rather than an array of blank white hexagonal panels, the Nanoleaf Elements have a wood-grain finish that’s close to a light oak. When powered on, the colourful Nanoleaf Shapes are designed to liven up a home office or bedroom with vivid RGB patterns whereas the Elements’ warmer lighting is a better fit for shared living spaces. They emit a limited range of colours between white and orange, imitating a sunset or crackling fire in some of the more vibrant scenes. Speaking of, you won’t have access to the full range of Nanoleaf Shapes RGB scenes but the Wood-Look Elements will still do its best to imitate them with its calmer colour palette. There’s also a whole new range of scenes tailored to the Nanoleaf Elements’ warmer range. If the Nanoleaf Elements are a whisky neat, an open fire and Steely Dan, the Nanoleaf Shapes are a case of Smirnoff Double Blacks, Darude’s Sandstorm and aggressive dabbing. The touch-sensitive panels are, first and foremost, great to show off when you’ve got visitors. The Nanoleaf app lets you map different swipe motions to different actions. For example, swiping up to increase brightness, down to dim and double-tap to power on and off. Half the fun is feeling like you’re a crew member of the Starship Enterprise but it’s also just practical to have those additional controls when you don’t have your phone nearby (or a smart assistant in earshot). The second most impressive feature of the Nanoleaf lights is the audio-synced Rhythm scenes. These scenes will animate with the tempo of whatever audio is playing in the room or, as I found out late into the review, your voice which provided a good twenty minutes of fun. The tempo of the lights doesn’t always match the track but to be fair, Scatman John’s seminal hit Scatman isn’t easy to keep up with. Celine Dion’s My Heart Will Go On is more the Nanoleaf Elements’ pace. Different rhythm scenes respond differently to frequency, volume and beat so hop into the app and experiment with what’s available. The Elements Wood-Look Hexagons are easily the best-looking product in the bunch but you’re paying a lot more for the more homely finish and ultimately getting fewer colour options. That works for me. I love the fireplace feel of the Elements panels but if you’re dropping between $300 and $450 for smart lights, my guess is you’d want the full RGB range of the Shapes and Canvas products (which retail a lot cheaper than the Elements). If you’re absolutely certain that the calmer colour palette of the Elements range is more your tempo, I’d recommend waiting for the price to drop a little closer to the Shapes and Canvas range before going all in.


