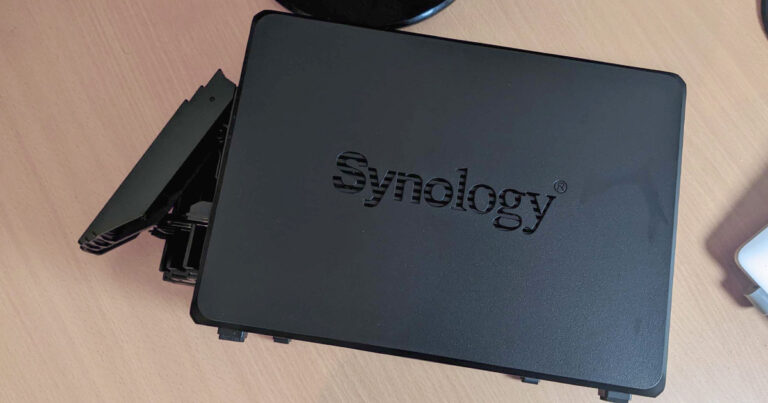
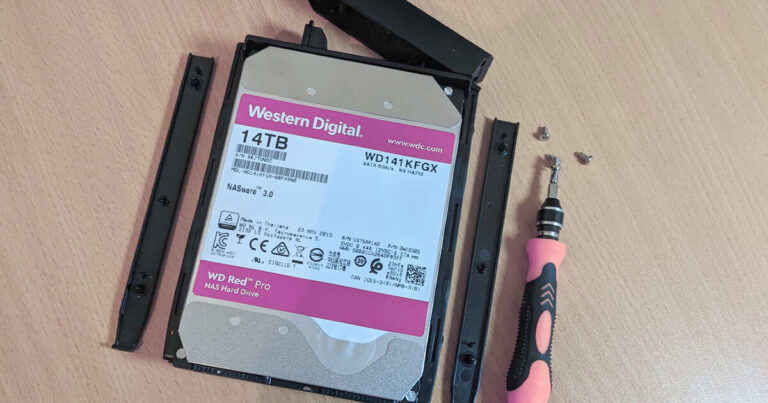
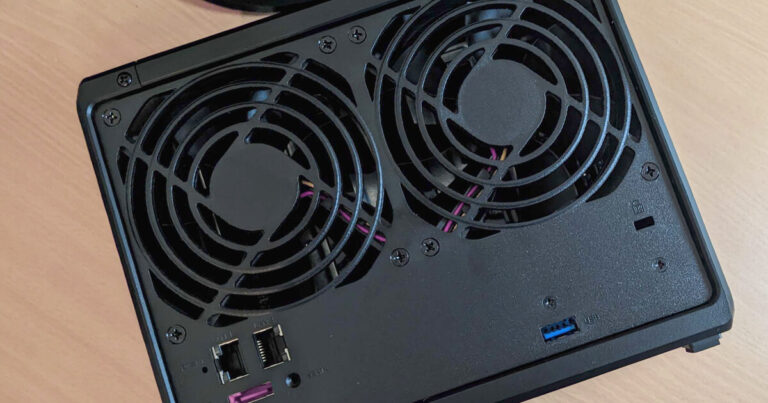
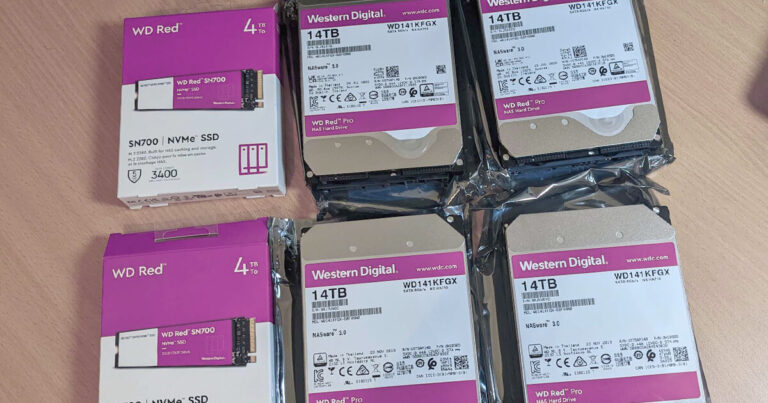
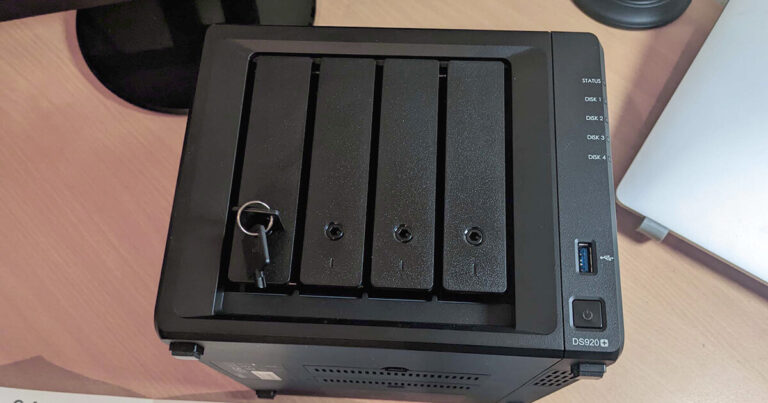
Optus Mobile Review ALDI Mobile Review Amaysim Mobile Review Belong Mobile Review Circles.Life Review Vodafone Mobile Review Woolworths Mobile Review Felix Mobile Review Best iPhone Plans Best Family Mobile Plans Best Budget Smartphones Best Prepaid Plans Best SIM-Only Plans Best Plans For Kids And Teens Best Cheap Mobile Plans Telstra vs Optus Mobile Optus NBN Review Belong NBN Review Vodafone NBN Review Superloop NBN Review Aussie BB NBN Review iiNet NBN Review MyRepublic NBN Review TPG NBN Review Best NBN Satellite Plans Best NBN Alternatives Best NBN Providers Best Home Wireless Plans What is a Good NBN Speed? Test NBN Speed How to speed up your internet Optus vs Telstra Broadband ExpressVPN Review CyberGhost VPN Review NordVPN Review PureVPN Review Norton Secure VPN Review IPVanish VPN Review Windscribe VPN Review Hotspot Shield VPN Review Best cheap VPN services Best VPN for streaming Best VPNs for gaming What is a VPN? VPNs for ad-blocking This price isn’t out of line with Synology’s competitors if you’re after a four-bay NAS, plus the DS920+ can be expanded with a five-bay add-on if four hard drives isn’t enough. The thing is, the 64TB max capacity (4x 16TB hard drives) is more than most everyday users could ever need. Even half that capacity is overkill for the small business owner writing this review. For hard drives, prices start at around $150 for a 4TB NAS-specific hard drive from Western Digital or Seagate. You can start out with one or two of those before deciding to upgrade later to help keep overall costs down. Additionally, a two-bay device is a great place to start for first-time NAS users looking to save money. Refreshingly, this isn’t the case with the DS920+. The four hard drive bays are accessed from the front of the NAS. Just lift the lever, pop out two plastic panels, slide in your hard drive and pop those side panels back into place. The hard drive bay slides back in, the lever goes down, and that’s it. There’s also a plastic key to lock the drives into place so there’s no accidental popping out of hard drives. If you want to install M.2 SSDs for cache, they’re located on the bottom and are just as painless to install with no screws required. The power cable goes in the back along with either one or two Ethernet cables (both ports are gigabit Ethernet), then you power it on. I used the Synology DS Finder Android app for installation and, outside of a couple of odd quirks, it was incredibly easy to use. My main gripe is the app didn’t give me the choice of Redundant Array of Independent Disks (RAID) type for greater control over NAS storage. Admittedly, it’s understandable why the app defaults to Synology Hybrid RAID (SHR), which effectively halves total capacity when using multiple drives. That may sound bad, but that second drive provides full redundancy in case the primary drive ever fails. No more losing data. You can change the RAID type later or, alternatively, configure via a computer browser rather than the DS Finder app. You can still use the NAS during this time, it’ll just slow things down. Once everything is configured in the back end, the Synology DS920+ is a cinch to use. Punch in find.synology.com into your browser or just use the NAS IP address to access the DSM operating system. Having gone through older versions of DSM, Synology has refined this to a user-friendly point that rewards curiosity and encourages tinkering, which is great. The main menu (four dots in the left corner) opens the main options in an attractive tile layout. Use this to access deeper settings, monitor storage health (or change RAID type), or get to the handy Package Center. This is Synology’s app store and it’s packed with plenty of app options to control backup, multimedia streaming, photo backup and a whole lot more. I tried to trip up the DS920+ in ways that worked on the DS216Play, but this newer-model NAS never skipped a beat. For streaming personal media, the DS920+ is a godsend for Plex, effortlessly handling local 4K streams in my tests. Mercifully, it also simplified the process of accessing my digital library on my NAS while I’m out and about (care of Plex Pass). Setting up NAS links to cloud storage is a cinch (handy for overnight backups), and that’s true of personal images and videos (via Synology Photos) as well as backup for compatible devices on your network. That’s where NAS-configured hard drives come into play. Western Digital sent me four 14TB WD Red Pro NAS hard drives and two 4TB WD Red NVMe SSDs to help test the DS920+. In side-by-side speed tests, the older Seagate 2TB IronWolf ST2000VN004 drives in my older NAS were left in the dirt. Admittedly, while the Seagate drives are older, the Western Digital hard drives boast impressive read/write speeds (251MB/s read and 224MB/s write) with very low latency. In practical terms, the WD Red Pro NAS drives made accessing folders and files feel a whole lot snappier. Faster loading and file navigating means less time waiting and more time doing. The WD Red Pro drives are fast enough that using the WD Red NVMe SSDs for read/write caching feels like total overkill. Still, with operating speeds that are hundreds of times faster, they’re a welcome inclusion, particularly when multitasking in NAS folders or opening larger files. Basically, the combination of DS920+ and Western Digital HDD and M.2 drives makes for a NAS that’s set to impress for years of use. From there, we favour NAS solutions that make it easy to install hard drives. Bonus points if you don’t need screws for 3.5-inch hard drives. More expensive NAS drives include NVMe cache, and we check to see how easy that is to access. A NAS that offers straightforward RAM expandability earns bonus points, too. Once the drives are installed, we pay close attention to the ease of onboarding. NAS solutions have, historically, been somewhat confronting to configure, so we like a straightforward and guided setup process. Then it’s down to testing what the NAS does, both in terms of centralised storage, as well as other perks like automated backup and streaming.
